So here is my guide on how to make Mercury Glass Pears. The project cost about $20, but I had a lot of fun and know I will keep using these. I got my inspiration from an ornament tutorial from Polka Dot Made, but she used paper ornaments, gold, and gold flakes. I wanted to use fruit since I couldn’t find any paper ornaments small enough, I wanted silver, and silver leaf was cheaper than silver flakes. SIDE NOTE: You will have extra silver leaf to add to your craft box after this. Hurray!
Materials from Hobby Lobby:
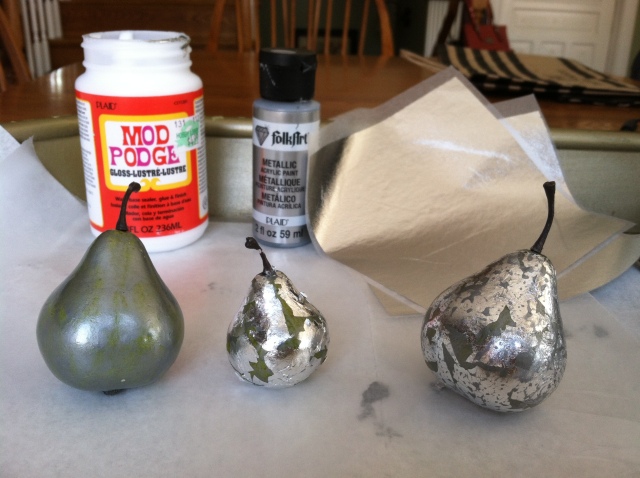
- Fake pears (1 bag of small pears, 1 bag of large pears)- $8
- Silver Acrylic Paint – $1
- Gold Acrylic Paint – $1
- Silver Leaf – $5
- Modge Podge – $3
I used a coupon so I got 40% off the silver leaf and the pears. That helped!
Step 1: The Initial Silver Coat
Put a coat of silver paint on the pears. It will form a translucent layer where the pear will still look green or yellow but with a slight sheen of silver. That’s fine.
Let the pears dry.
Step 2: The Modge Podge and Silver Leaf
Working in small areas, brush on a very small amount of Modge Podge and dab the silver leaf onto the pear. The Modge Podge should be such a light layer that is it immediately tacky and begins drying before you add the silver leaf. Dab on the silver leaf by pressing the sheet against the area of that has Modge Podge. Don’t try to cover every area—leave gaps and let the silver leaf crinkle and clump so that the final look is more dappled than unified. You can always go over an area again with more Modge Podge and silver leaf.
Let the pears dry—actually, the first ones will probably be dry by the time you finish the last ones, so you can go ahead and move to Step 3.
Step 3: The Second Silver Coat
Brush another thin layer of silver paint over the silver leafed pears. Dab paint thicker over areas where the original green or yellow of the pear is poking through. Let Dry.
You can leave the pears here, and they will look great! However, I took them home and realized that they were too silver-y to match my Mercury glass. They needed the added warmth of gold. So in that case—
Step 4: The Final Gold Coat
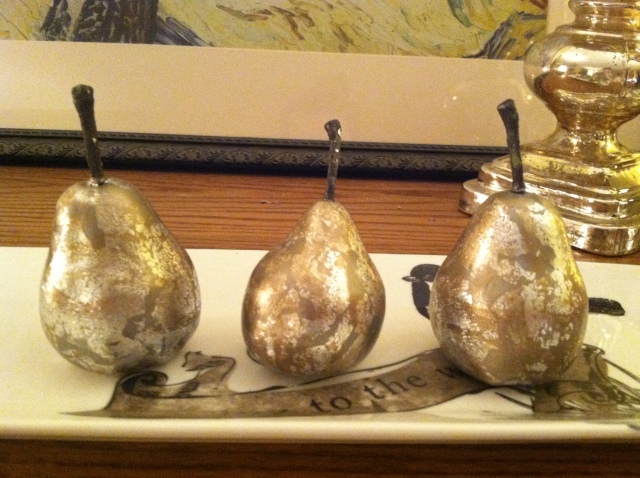
Apply a very light, almost dry-brushed layer of gold paint all over the pears. This will add just the final touch of warmth needed. You can see how the silver and metallic look still comes through, but it is muted with the antiqued look of gold. Perfect!
It was kind of an involved process, but I love doing stuff like this and had a blast!
Of course, it is pretty easy to see that the process is flexible and that I was kind of learning as I went. You could begin with a gold layer instead of silver, or you could try skipping the initial silver layer altogether, etc. Try the look with a couple of experimental pears first to get an idea of what you want to do.
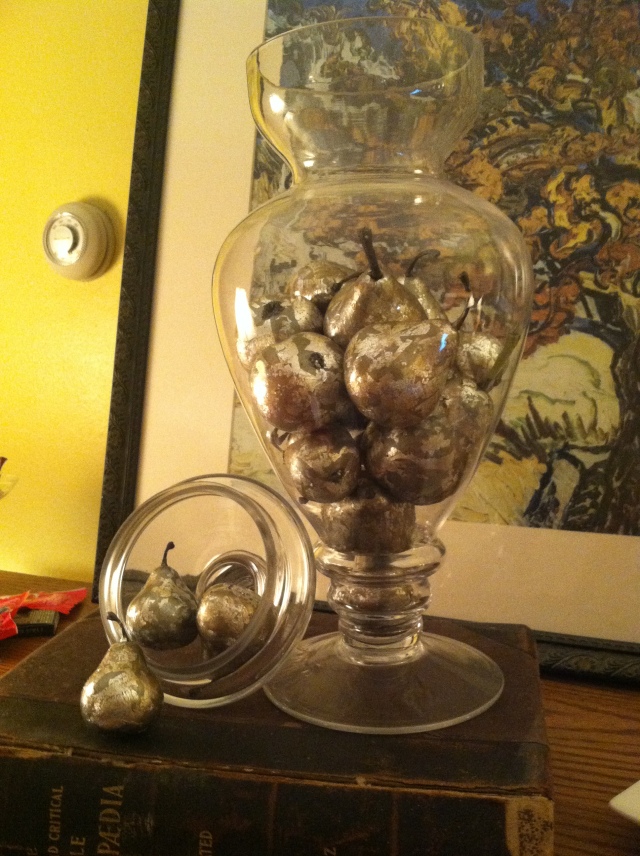
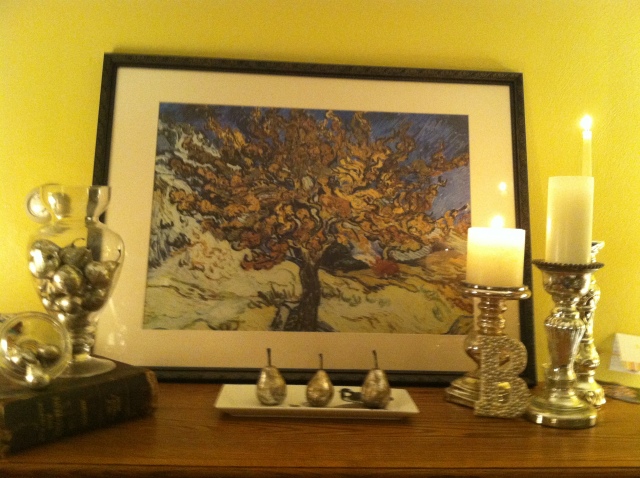
Here’s the final look with it all put together:


